The Edit Terrain Tool
SHIFT+F keyboard
shortcut.General
The tool is mainly composed of three parts:
- The 2-dimensional terrain height map representation in the top-down 2D view.
- The 3-dimensional terrain surface representation in the 3D view.
- The terrain editor dialog.
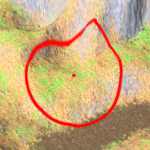
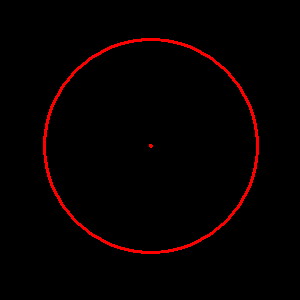
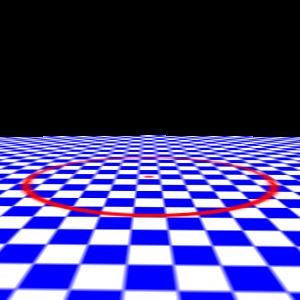
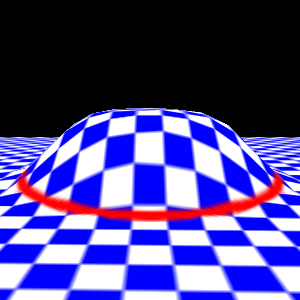
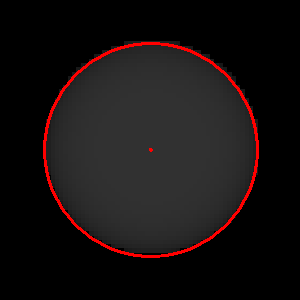
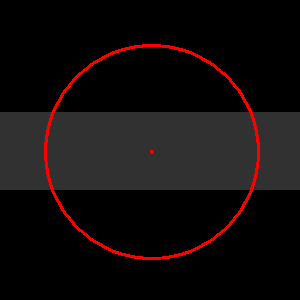
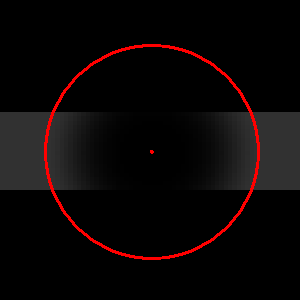
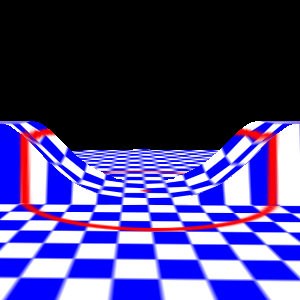
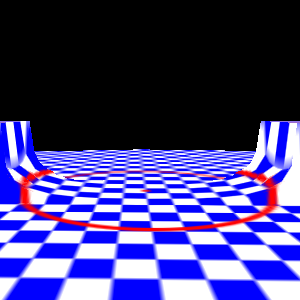
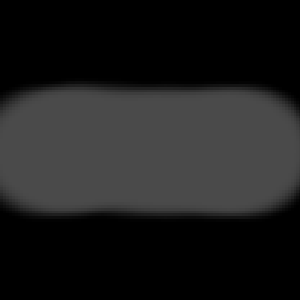
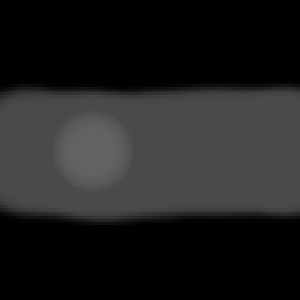
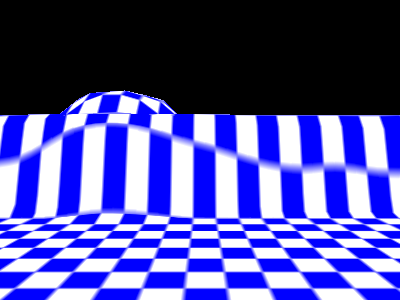
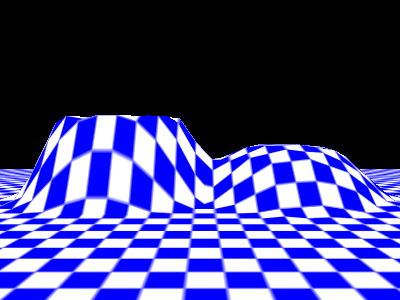
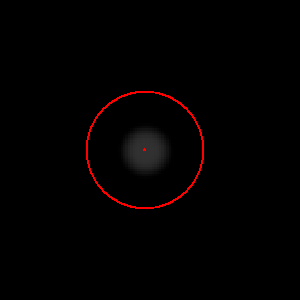
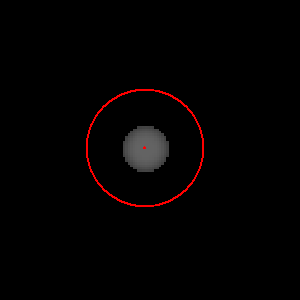
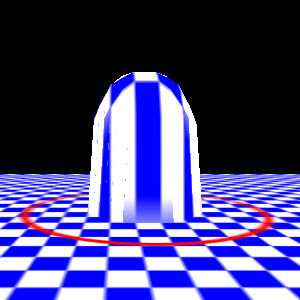
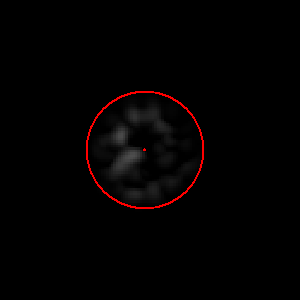
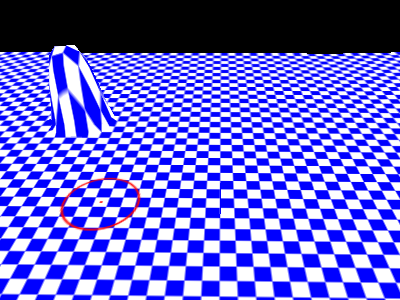
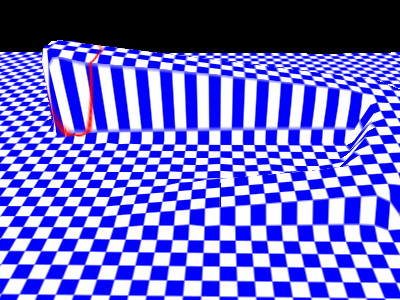
 The terrain editor always works within a adjustable
circular area that is visualized in the top down 2D view as well as in
the 3D view as seen in the images on the right.
The terrain editor always works within a adjustable
circular area that is visualized in the top down 2D view as well as in
the 3D view as seen in the images on the right.The (top down) 2D View
 When a terrain isn’t selected by the terrain editor it is
rendered like every other brush so just its center point and bounding
box is visible (in the same way as it is rendered if the terrain
editor tool is inactive).
When a terrain isn’t selected by the terrain editor it is
rendered like every other brush so just its center point and bounding
box is visible (in the same way as it is rendered if the terrain
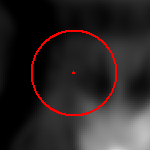
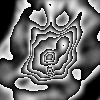
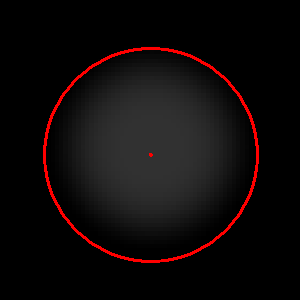
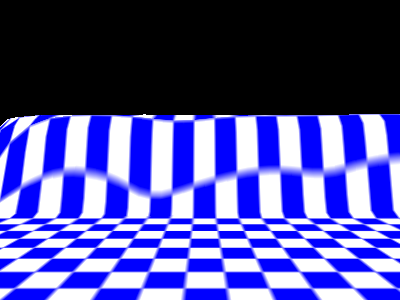
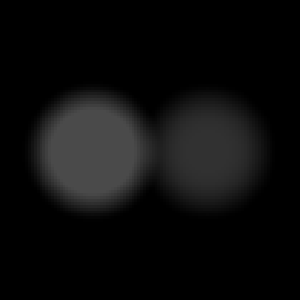
editor tool is inactive).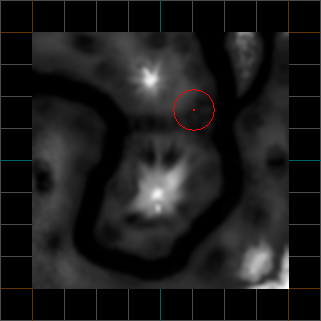 When a terrain is selected its height map is rendered in a
gray scale mode in the 2D view. Looking at the image to the left you
can see that higher elevations are rendered brighter whereas lower
elevations are rendered darker. This lets the user easily assess and
modify a terrains surface structure even from a non 3-dimensional
view.
When a terrain is selected its height map is rendered in a
gray scale mode in the 2D view. Looking at the image to the left you
can see that higher elevations are rendered brighter whereas lower
elevations are rendered darker. This lets the user easily assess and
modify a terrains surface structure even from a non 3-dimensional
view.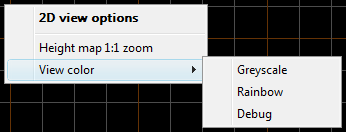 The 2D view has a context menu when the terrain editor tool
is active. It lets you adjust the appearance of the terrain in the 2D
view.
The 2D view has a context menu when the terrain editor tool
is active. It lets you adjust the appearance of the terrain in the 2D
view.- Height map 1:1 zoom: Zooms the 2D view so each elevation value of the terrains height data will be rendered as one pixel in the 2D view.
- View color


- Greyscale: Renders the height map in a greyscale gradient from black to white where black represents the lowest elevation and white the highest elevation.
- Rainbow: Renders the height map in a rainbow gradient from blue to red where blue represents the lowest elevation and red the highest elevation.
- Debug: Renders the height map in repeating greyscale gradients from black to white. This mode is useful to make detailed terrain modifications where the spectrum of the other color gradients would be to small to see the differences.
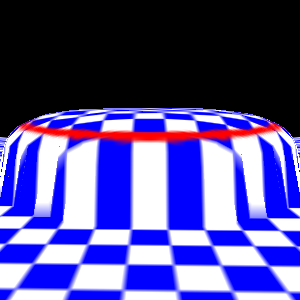
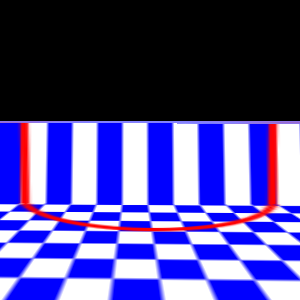
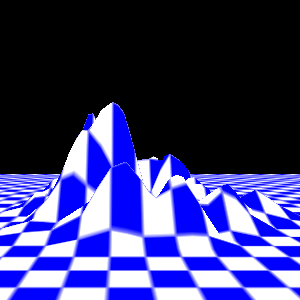
The 3D View
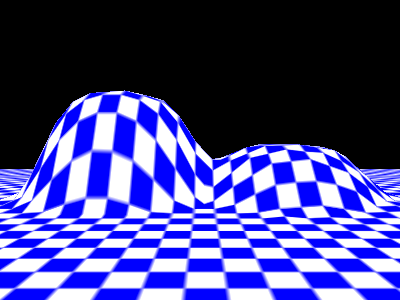
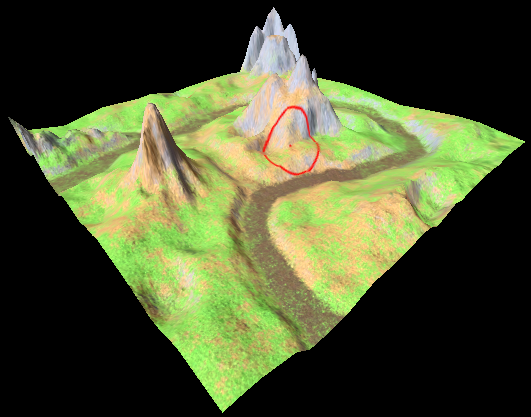 A terrains surface structure is rendered in the 3D view
surface regardless if the tool is active or inactive or if the terrain
is selected by the terrain editor or not.
A terrains surface structure is rendered in the 3D view
surface regardless if the tool is active or inactive or if the terrain
is selected by the terrain editor or not.The Terrain Editor Dialog
 Where the views allow you to modify the terrains height data
at the tool position, the terrain editor dialog allows you to select
different sub tools of the terrain editor and to adjust parameters for
this tools. Furthermore you can change properties of the whole terrain
with it.
Where the views allow you to modify the terrains height data
at the tool position, the terrain editor dialog allows you to select
different sub tools of the terrain editor and to adjust parameters for
this tools. Furthermore you can change properties of the whole terrain
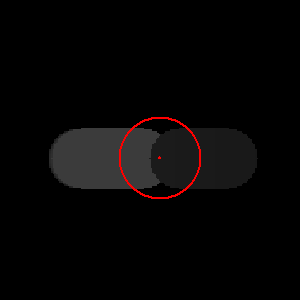
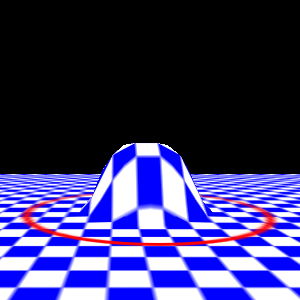
with it.- Radius: The radius determines the size of the circular area of effect at the current tool position.
- Hardness: The hardness describes if the changes made in the circular area of effect should smoothly blend into the surrounding or have a hard edge at the border of the area of effect.
- Tool effect: The tool effect has different meanings for different sub tools, but can usually be pictured as the intensity with which the tool is used.
- Resolution: The resolution of the terrain height data (elevation values). This has nothing to do with terrains size. The size is determined by the terrains bounding box (which can be scaled like every other brush with The Selection Tool). The resolution determines the number of height values that build up the terrains surface. A higher value usually means that a terrain surface is smoother and more detailed.
- Import: You can import the terrains height data from various file formats including greyscale images in BMP, JPG, PNG and PGM format as well as Terragen files.
- Export: Exporting the terrain into a greyscale image (same formats as stated above) or Terragen file is possible as well.
Terrain Generation
 If you have created a new empty terrain and you haven’t got
any height data at hand to create its surface, it is often desirable to
automatically generate a basic terrain.
If you have created a new empty terrain and you haven’t got
any height data at hand to create its surface, it is often desirable to
automatically generate a basic terrain.
The terrain generation dialog allows for this. By specifying a set of input parameters it lets you create different base terrains and shows the result in real time in a preview window.
- Frequency: A high frequency results in a bumpy surface with many hills and valleys whereas a low frequency will create fewer broader hills and valleys.
- Lacunarity: A multiplier that determines how quickly the frequency increases for each successive octave in the Perlin-noise function. The frequency of each successive octave is equal to the product of the previous octave’s frequency and the lacunarity value.
- Octaves: A higher value adds structural detail to the terrain to the terrain so its surface becomes more natural.
- Persistence: A high value increases the surface contrast which results in steeper slopes between hills and valleys.
- Seed: Determines the random arrangement of hills and valleys for a terrain. You can play with this value to get different results that have all the same characteristics defined by the other parameters above. Note that the resulting terrain from a seed will always be the same (modified by the other parameters of course), so you can always recreate the same terrain again by using the same seed.
You can also find very good and more technical descriptions of these parameters in the libnoise glossary.
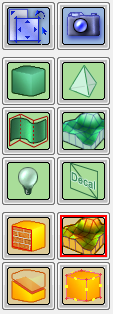
The Terrain Editor Sub Tools
Tip: While working on your terrain you can undo/redo each step you made
by either using
The Edit Menu or
the undo/redo shortcuts CTRL-Y and CTRL-Z. This allows you to
easily try something with the terrain and undo it if the results are not
what you expected.
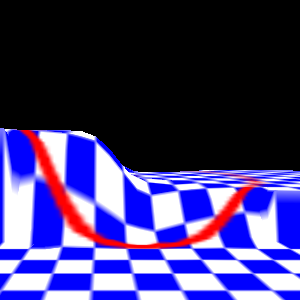
The Raise Tool

The Lower Tool


The Flatten Tool

ALT key and then clicking on the position
from which you want to pick up the height value (this works regardless
of the activated sub tool).
The Fill Tool

The Ablate Tool

The Blur Tool


The Sharpen Tool

The Noise Tool

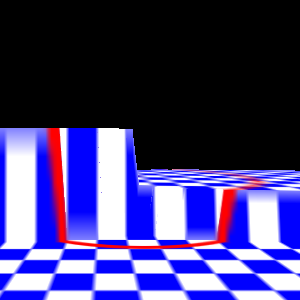
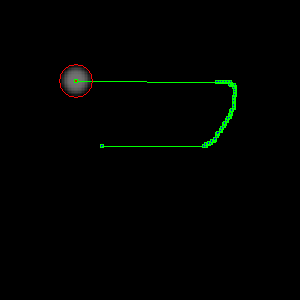
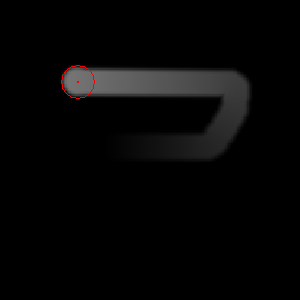
The Road Tool

RETURN key and
the road is constructed. You can also undo road points by clicking the
middle mouse button or pressing the BACK key.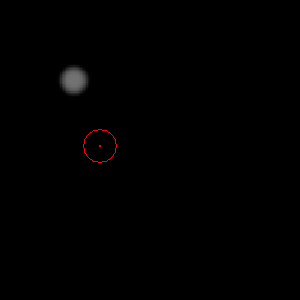
Creating textures for a terrain
Keyboard shortcuts
SHIFT+F:- Activates the Terrain Editor tool.
ALT:- Activates the Eyedropper mode that lets the user pick up a reference height value.
ENTER:- If the Road sub tool is active a road is constructed from the available road reference points.
BACK:- Removes the last set road reference point.